With the "Mobile time tracking" module, Staffcloud offers you the option for employees to check themselves in and out in real time.
This function is available in three modes:
- Time stamp submissions with or without location information
- Validated check-ins by scanning a provided QR code
- Validated check-ins by scanning an NFC tag
Configuration:
To be able to use the functionality, the submission of check-ins and time stamps must be configured in the settings and an submission period must be defined.
- In the configuration, you can set an submission period for the check-ins and time stamps under Add Ons -> Time tracking. This submission period defines the time in which employees can generally check in and check out. In the "Time stamps" tab in Staff planning, you can also filter by a tolerance period.
- In the example, employees can submit time stamps from 2 hours before the planned start and up to 1 hour after the planned end. Check-ins can be submitted 30 minutes before the planned start and up to 1 hour after the planned end.
- At this point, you can personalise the check-in with an additional validation and specify whether the check-in can be carried out by the employee app and/or the Teamleader app.
- You can also download the global QR code or the global NFC validation for your instance here.

You can also specify in the configuration under Projects -> Event settings whether employees can submit time stamps. You can also use a select field here to define whether a check-in via QR code or NFC by the employee is required, for which times (start, start of break, end of break, end) a check-in with QR scan or NFC is required and which level of QR code or NFC validation is valid.

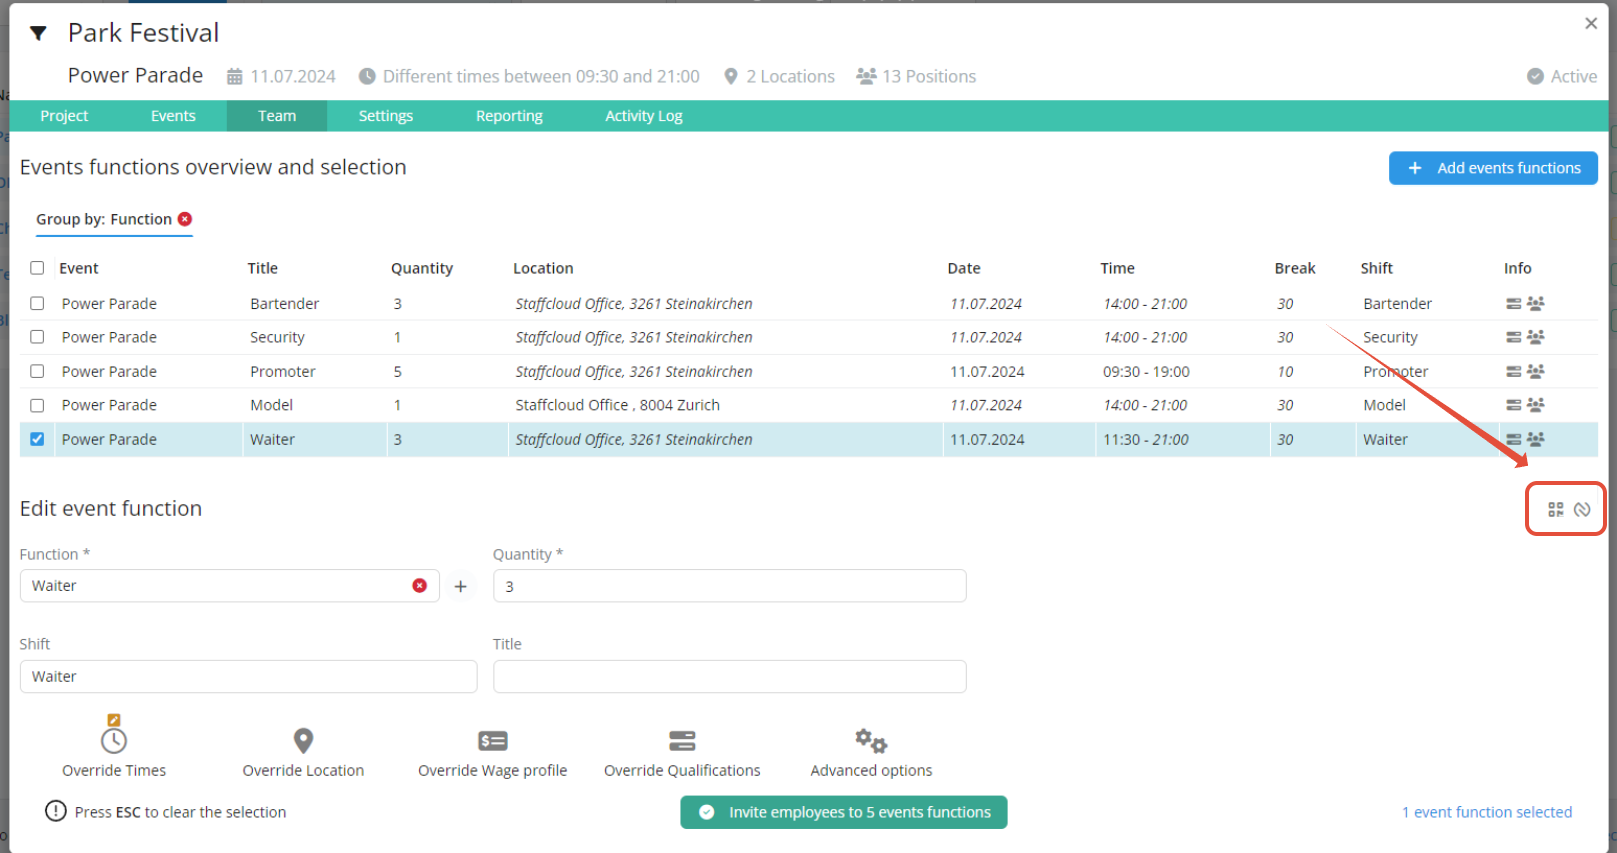
This setting can be changed for each individual event in the project/event settings:

Timestamps and check-ins can be combined within an event. For check-ins, it is not possible to activate the QR code and NFC in an event at the same time.
Level of the QR code or NFC validation:
QR codes and NFC validation can be provided on four levels:
For the entire instance
Per project 
Per event (edit under Event) 
a QR code is created for every selected function, for each event individually)
Was this article helpful?
That’s Great!
Thank you for your feedback
Sorry! We couldn't be helpful
Thank you for your feedback
Feedback sent
We appreciate your effort and will try to fix the article